Why the Screen Door Is Important

Expanded Level of Security

Introducing screen doors builds your real feelings of peacefulness in light of this extra insurance. They prevent cheats, who may go to the property to screen any shortcomings to target. The extended degree of security will reduce the chances of your house being focused on because they are clear from the exterior as well. It is essential that the security work can’t be sliced or pried open to enter either.

The Importance of Screen Door

Look after Privacy

Screen doors are also well-known on account of its ability to maintain better protection. The width and point of the work make it harder for passer-buyers to see inside the property, basically like a two-way reflect. This guarantees you get a constant viewpoint externally while avoiding according to others inside. The security work can be designed in a manner to lower or raise your level of protection, reliant upon the family’s needs. But if you still have difficulties, then you can always use door service by Top Door Repair.

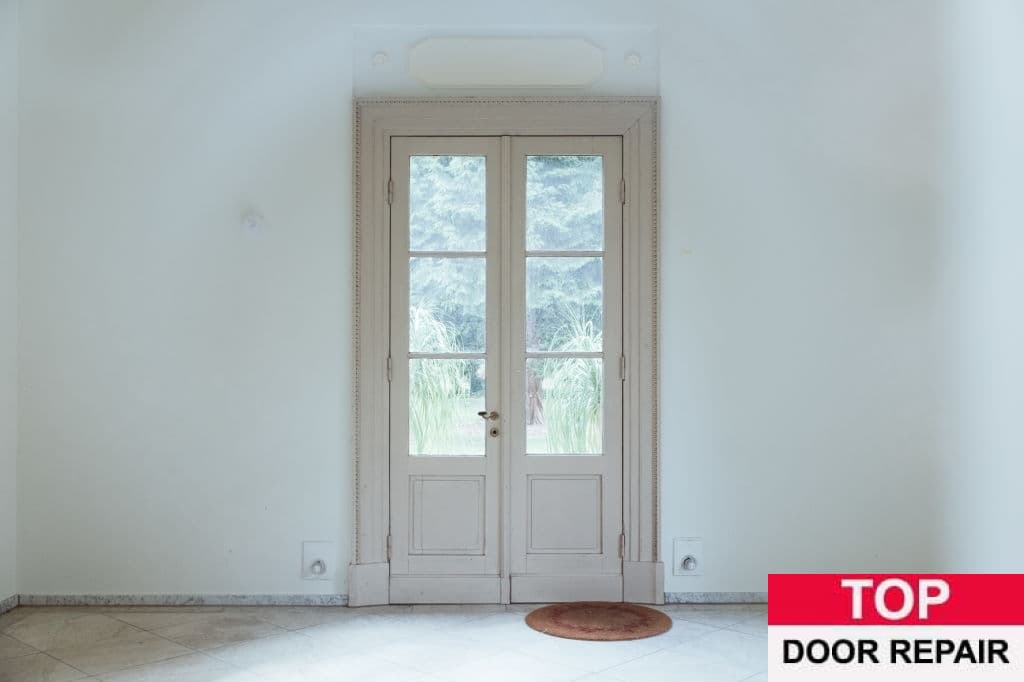
Lift First Impressions

Screen doors in entryways add a quantity of style to a property. While it’s not usually a primary reason mortgage holders go for them, it’s conclusively an extra advantage when you do make the scheme. Boosting early introductions in the house is essential for a few, and your front entryway will, in general, be the main thing individuals take note of. Consider a brightening screen door to put in some shading and style with more detail that establishes a significant connection.

Keep Insects at Bay

Just like bugs, screen doors can keep jetsam and flotsam out of the home as well. Leaves on a windy day, sand and waste would all be blown into the house when entryways are left open. Nevertheless, these things are more indisposed to advance in with the screen door blocking the way.

Common Light and Improved Ventilation

Screen doors enable you to open up the home and let common light in, making an increasingly extensive feel to your environs without the stress of gatecrashers.

The sequence of natural air into a room is essential for anticipating mold and expelling musty air from the earth. Householders locate a huge advantage in having the option to breathe in the outside air without exposure to security. Like-wisely, you are in a superior position to leave a window or entrance open on the off prospect that you leave the assets to air it out with the screen door.

Enhances Your Home

Screen doors are an odd way to raise the worth of your property, which thusly assists with a decent ROI, come resale time. Since you can get them exclusively designed to mirror the home’s modern shading and engineering plan, they comprise a degree of restraint claim as well.

Expanded Comfort

Because screen doors offer property holders the magnificence and housing of a window, with the extra security of an outside entryway, your degree of comfort is naturally helped. This ensures added real feelings of calmness.

We provide service in many cities: Door Repair in AbbotsfordDoor Repair in Whalley, and Door Repair in Maple RidgeCall us if you have any questions.

Fixing a Hole in a Door

Cut off irregularities on the top cover then fill the inner space of the hole with a wrapping paper. Using low expansion foam, fill the hole while keeping the foam spray firmly upside down. The foam is neatly cut off after hardening. It’s vital to protect it from external influence, so you should apply a sealing layer of vulcanized rubber and paint over the mastic. Use putty to cover the layer of hardened mastic that will take 12 hours to complete hardening. You should then sand it with fine sandpaper and coat with a layer of a suitable shade of paint. But if you still have difficulties, then you can always use door service from Top Door Repair.

Hole in a Door

Veneer Door

Smooth the surface where the veneer will be bonded without adhering sawdust, grains, and so on. Use putty to smooth irregularities then sand them. To both glued surfaces, apply adhesive and let them dry.

Complete drying will take about 20 minutes, and then the veneer is pasted on the door with the help of the iron. You should gently squeeze the dried glue surfaces to each other and smooth with a hot iron. This will make the glue on surfaces to warm up, and the connection will be strong.

Cut off the extra parts then use a damp cloth to remove the adhesive residues. If not, it will be visible under the varnish.

Also, use fine sandpaper to process the repaired spot and remove dust. The surface will now be ready for coating with paint.

Metal doors

For fixing metal doors, auto body fillers suit best since they are composed of adherence to metal surfaces.

Use coarse-grit sandpaper for sanding the area all around the hole till you reach unsheathed metal. Eliminate paint with the edge of the sandpaper from dints and splits. Confiscate the specks of dust that occur in the process of sanding with a vacuum.

Use a hard brush to treat the rusty areas with liquid rust remover. To guarantee the adherence of the material to the metal, clean the surface using a degreasing detergent and a clean rug.

Using a plastic putty knife, put in the hardener to metal bonding filler and mix the compound, then fill the hole and make a smooth layer of the solution using a putty knife. Make a slight mound by overfilling the hole a bit then let the filler dry fully.

Sand the patch using a course-grit sanding block and clear the sanding dust off by a clean rug. You should then coat the recessed holes with another layer of filler and let them dry totally. Sand the area and clean it from the sanding dust again.

Use a medium-grit sanding block to sand the patch here and clear the surface from the sanding dust.

With rust-inhibiting primer, cover the patched area and let it dry completely, then apply another coat. Moisturize a 400-grit sandpaper block and enclose a rubber sanding block in it, sand the repaired area smooth and allow the metal dry totally. Using two layers of rust-inhibiting paint, cover the patched area.

We provide service in many cities: Door Repair in Abbotsford, Door Repair in Kitsilano, and Door Repair in Delta. Call us if you have any questions.

How to Repair a Kicked Door

To do the door repair, some of the materials and tools you will need to complete this work are: Screwdriver, Putty knife, Wood glue, Chisel, Clamps, Replacement casing (optional), Hammer, Diagonal pliers, Nail-set, Putty crayon, Stain marker, Finish nails, 1 1/4-inch, and Miter saw (optional).

Kicked Door Repair

On the inner side part of the door, insert the end of a putty knife amid the loose casing on the doorknob side. Use your fingers alongside the putty knife to pull the casing from the jamb at the top where it is still nailed on. Discard it if the casing is split or damaged. You can then use diagonal pliers to pull all the remaining nails out.

In case the crack or split goes behind it you should get rid of the striker plate from the door. Then use a screwdriver in removing the screws holding the striker plate. Get off the plate out of the mortise. You can as well leave it as it is if the striker plate is intact.

Firmly push the fractured jamb back into its original position. Using the putty knife, you should clear out any chips, loose splinters, or debris. You should make sure that the two sides of the jamb fit back together reasonably tightly.

Then pull the split sides of the jamb open. On the blade of the putty knife, you should then spread up the glue. The glue should be applied to all areas that have been split. Put in the putty knife into the crack or split and scratch off the glue until all cracks and splits are soaked up with glue.

Put clamps crosswise the jamb and tighten them until the split in the jamb is tight and glue ooze out from all cracks. The glue should be left to dry for at least one hour.

You can then take out the clamps and use the side of the putty knife to scrape off any residual dried glue. The end of the putty knife is then used to clean up the mortise. In case it has become indistinct, use a chisel to dirt free and cut the edges of the mortise so that the striker plate fits into it as it was before, with the hole in the plate laid over the hole in the jamb. You should afterward screw on the striker plate.

Using 1 1/4-inch finish nails and a hammer, you have to nail the casing back into place. But if you find out that the old piece of the casing was damaged, a miter saw set at 45 degrees should be used to cut an identical piece and nail it on for a replacement.

You should then use a nail-set to tap the nails below the surface of the casing. A color-matched putty crayon is then used to putty out the holes. In the place that the jamb was glued back together, you should use a stain-marker to color the seams and cracks.

We provide service in many cities: Door Repair in AbbotsfordDoor Repair in Fleetwood, and Door Repair in LadnerCall us if you have any questions.

How to Fix a Hole in a Core Door

Tools and materials required are a utility knife, drop cloth, newspaper, low expansion aerosol foam insulation, plastic putty knife, lightweight auto-body filler, spackle, 120grit sandpaper, touch-up paint, and paintbrush. If you don’t have any tools available, you can always turn to the door to repair Vancouver.

Fix a Core Door

STEP 1: Ensure the floor is safe from glue insulation, and paint.

This is done by sliding a drop cloth under the door to protect the floor while working. Leave the door on its hinges; you needn’t remove it to complete this fix.

STEP 2: Make the edges of the hole neat.

Using a sharp utility knife, cut away ragged edges around the hole. Then hold the knife at a slight angle to make a beveled cut and use a gentle sawing motion to remove rough and fractured edges.

STEP 3: Stuff paper inside the door surrounding the perimeter of the hole.

Rumple up a small bit of newspaper and push the pile lightly into the hollow area of the door surrounding the hole. The wrinkled paper will serve as a trivial block to contain the foam to be used in the next step, so ensure you insert it all-round the perimeter of the hole.

STEP 4: Fill the hole with insulation.

With the straw that accompanies the can, spray low-expansion aerosol foam insulation into the hole. Begin spraying from the back of the hole. The foam will come out in the form of a liquid but quickly inflate to fluffy foam to fill the hole. Leave it for about 10 to 15 minutes, until it’s no longer tacky to the touch yet still feels soft and rubbery.

STEP 5: Trim the insulation.

Some foam will probably have expanded outside the hole. With a utility knife, cut the excess away once it has fully dried. Extend the blade to the point where four to six snap-off sections are observable, and then hold it blush against the surface of the door to trim the foam.

STEP 6: Add auto-body filler.

Cover up the foam-filled hole with lightweight auto-body filler companionable with fiberglass, the insulation you’ve sprayed into the hole already. You should check packaging info for exact use instructions. Various types come in two separate containers and require amalgamation, while others are ready to use. Scoop up a little of auto-body filler with a plastic putty knife and smooth it over the hole. Wipe off surplus with the putty knife. Allow the filler dry wholly.

STEP 7: Smooth, spackle, smooth.

Make it smooth using 120-grit sandpaper to get rid of dried auto body filler and create a faultless surface. Then apply a very thin layer of lightweight, paintable spackle over the filler using a putty knife. Sand it once more when it dries. Dash your fingers over the surface to make certain that it feels very smooth.

STEP 8: Touch up with matching paint.

To avoid obvious signs of a repair, brush touch-up paint over the repaired hole. For unsurpassed results, pertain two to four very light coats, letting each dry completely before applying the next.

We provide service in many cities: Door Repair in Abbotsford, Door Repair in Kitsilano, and Door Repair in Clearbrook. Call us if you have any questions.

How Much is It to Replace a Wooden Door

Considering a replacement on your wooden interior or exterior door and you are worried about the costs? Maybe you have purchased a home, you have worn out, or rotten wooden doors and you are beginning to worry about the additional costs of doing a replacement on top of the actual home costs. Or probably your wooden door has been ruined by a storm or a break-in attempt, or it has been kicked.

Wooden Door Replacement

The cost of doing a wooden door replacement is highly variant, depending on the size of the project and style of the door needed. Whether you want your door flushed, arched, paneled, pocket, bi-fold, or decorative, the style of door, size, design, and local coasts will determine the amount you are likely to spend on any wooden door replacement project.

Average Costs of Door Replacements

According to reports from HomeAdvisor members and general door replacement cost analysis, the average cost of installing a door is 957 dollars, with most homeowners spending between 472 dollars and 1,452 dollars.

According to homeowners, the cost of replacing interior doors in a pre-existing frame runs from about 100 dollars to 1,000 dollars. For entryways, the price goes up to about 5,000 dollars or more depending on the material, size of the opening, and structural changes in load-bearing walls. This shows that there is an enormous variety of costs of wooden door replacements, which further ranges from one place to another and from one technician to the other in terms of labor charges. It is, therefore, more advisable to engage a professional technician to give you a quote before you can begin your replacement process.

The cost of replacing a wooden door also depends on the following factors:

Hardware

The more hardware you add to your new door, the higher the cost of the door. These include key locks, door handles, keypads, and door alarms, among others.

Style

The different available wooden door styles have different market prices and different levels of appeal. The main wooden door styles include interior, engineered, and exterior solid.

  • Engineered solid wood: for exterior application, these wooden door styles range between 150 dollars to 500 dollars.
  • Interior: these wooden door styles may be hollow or solid. They are priced between 40 dollars and 200 dollars, depending on the design and other factors discussed above.
  • Exterior solid: prices range between 500 dollars and 3000 dollars and depend on whether they are single or double, whether they have sidelights, transom, glass, or are fitted with internal mini-blinds.

Frame maintenance

Proper frame maintenance will greatly reduce your door replacement costs as a properly taken care of door frame will not easily or break. These door frames can be reused instead of replacing the whole door system.

Labor costs

In most cases, labor runs between 40 dollars and 90 dollars per hour or more with an average of about 70 dollars for a licensed door replacement contractor. However, your location will edict the final hourly labor charges contingent on the cost of living there.

We provide service in many cities: Door Repair in AbbotsfordDoor Repair in Richmond, and Door Repair in New WestminsterCall us if you have any questions.